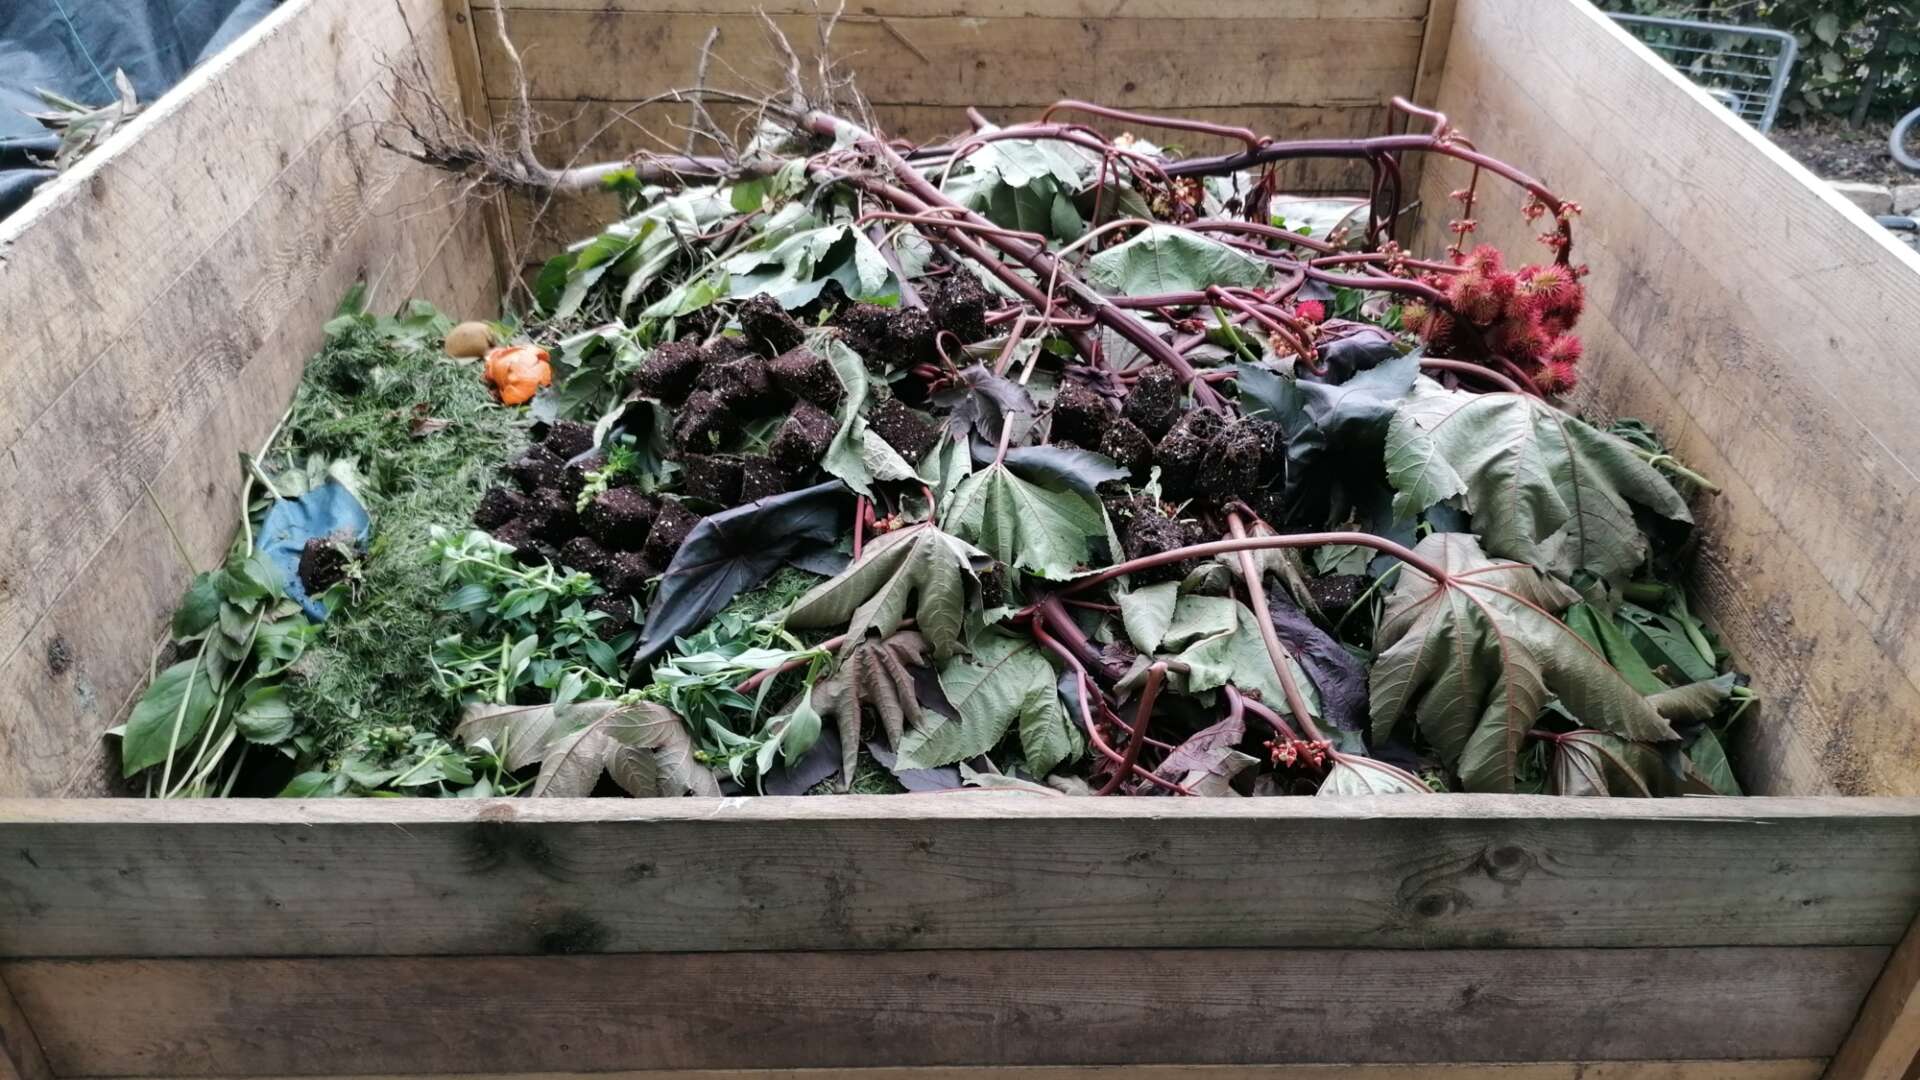
Composting
Homemade compost bins

As the compost decreases in volume, the top sections of the box can be taken off and used to start building up a new container. Make a few extra sections and you will have a very flexible composting system.
Keep the rain out with a wooden lid or polythene.
The size
The instructions given here will make a square compost box 75x75x75cm. These dimensions can be adjusted to suit your requirements and the materials available, which makes it ideal for using reclaimed timber such as floorboards or pallets. We would not recommend a box much smaller than this.
Materials and equipment
To make one section of the box you will require:
- 2 of 75cm wooden boards, 7.5cm wide*, minimum 1.5cm thick
- 2 of 72cm wooden boards, 7.5cm wide*, minimum 1.5cm thick
- 4 of 5cm x 5cm wooden corner blocks, 5.5cm long*
- 20 of 3.6cm screws, size number 8
- 1 screwdriver, 1 drill, and 1 saw
Total materials for 10 sections:
- 30m of 7.5cm x 1.5cm timber; 2.2m of 5x5cm timber; 220 of 3.6cm number 8 screws.
* wider or slightly narrower boards may be used, as long as the size of the corner blocks is adjusted to suit. There is no need to keep to the same width for each section if the timber available is variable. Length and thickness should be constant.
Building the box
- Cut 2 boards, each 75cm long
- Cut 2 boards, each 72cm long
- Cut 4 lengths of 5.5cm from the 5cm x 5cm timber. These will make the corner blocks
- Take one of the 2 shorter boards and place it in position on two of the corner blocks. The ends of the board should be flush with the blocks; the blocks should be offset so that they project 2cm beyond the edge of the board, as shown in the diagram
- Hold the board in position on the blocks. Drill 3 holes, 3cm deep at one end of the board, through the board and into the block below. Fasten with 3 screws
- Repeat steps 4 and 5 at the other end of the board
- Now repeat steps 4-6 with the second shorter (72cm) board. For the next stage, you may need someone to help hold the pieces while you fix them together
- Stand the 2 shorter boards (with blocks attached) on their ends, approximately 75cm apart, with the protruding ends of the blocks away from you. Place a 75cm board on top of these vertical boards to form the third side of the section. Ensure that the ends of the longer board are flush with the outer edges of the vertical boards
- Drill and screw each end of the 75cm board, as in step 5. Use 2 screws only this time
- Turn the section over so that the unfinished side is uppermost. Place the second 75cm board across between the shorter boards as before. Position squarely and drill and screw as in step 9
You have now completed the first section of your compost box. Continue making sections until the desired number is completed.