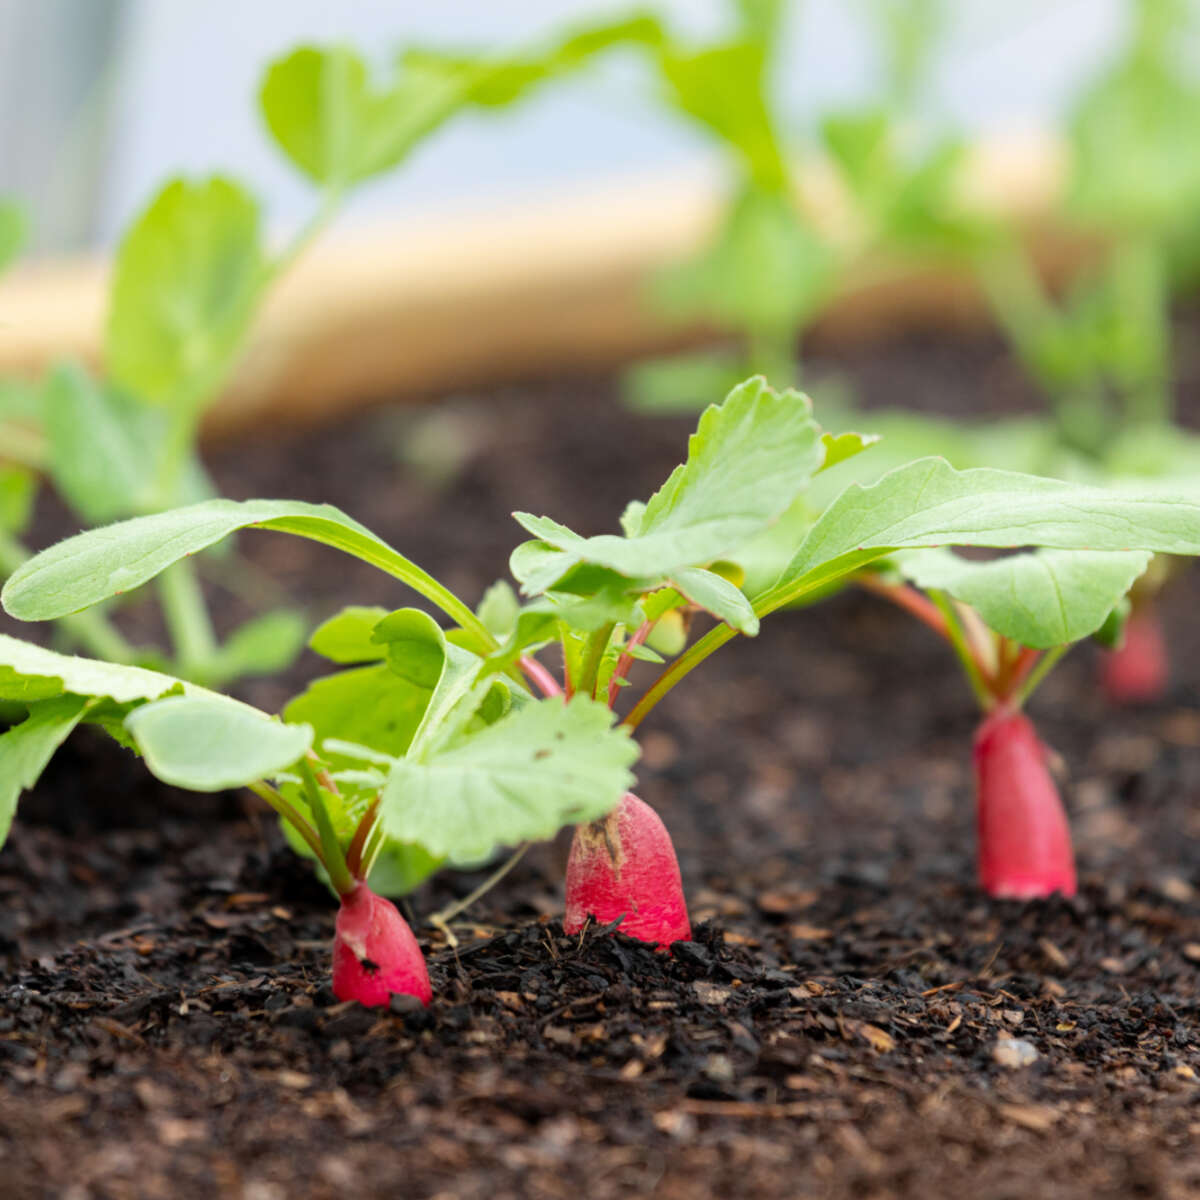
How to grow vegetables and herbs
Getting started
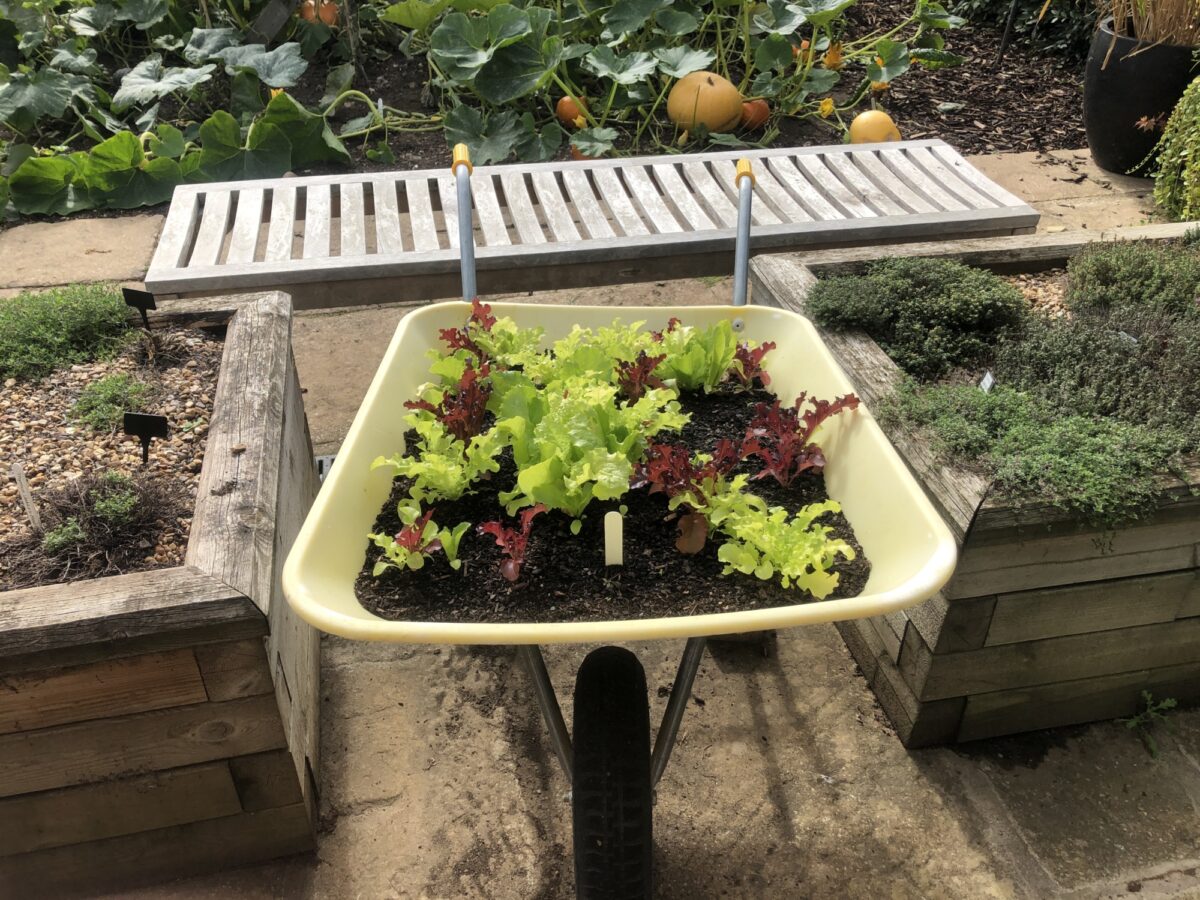
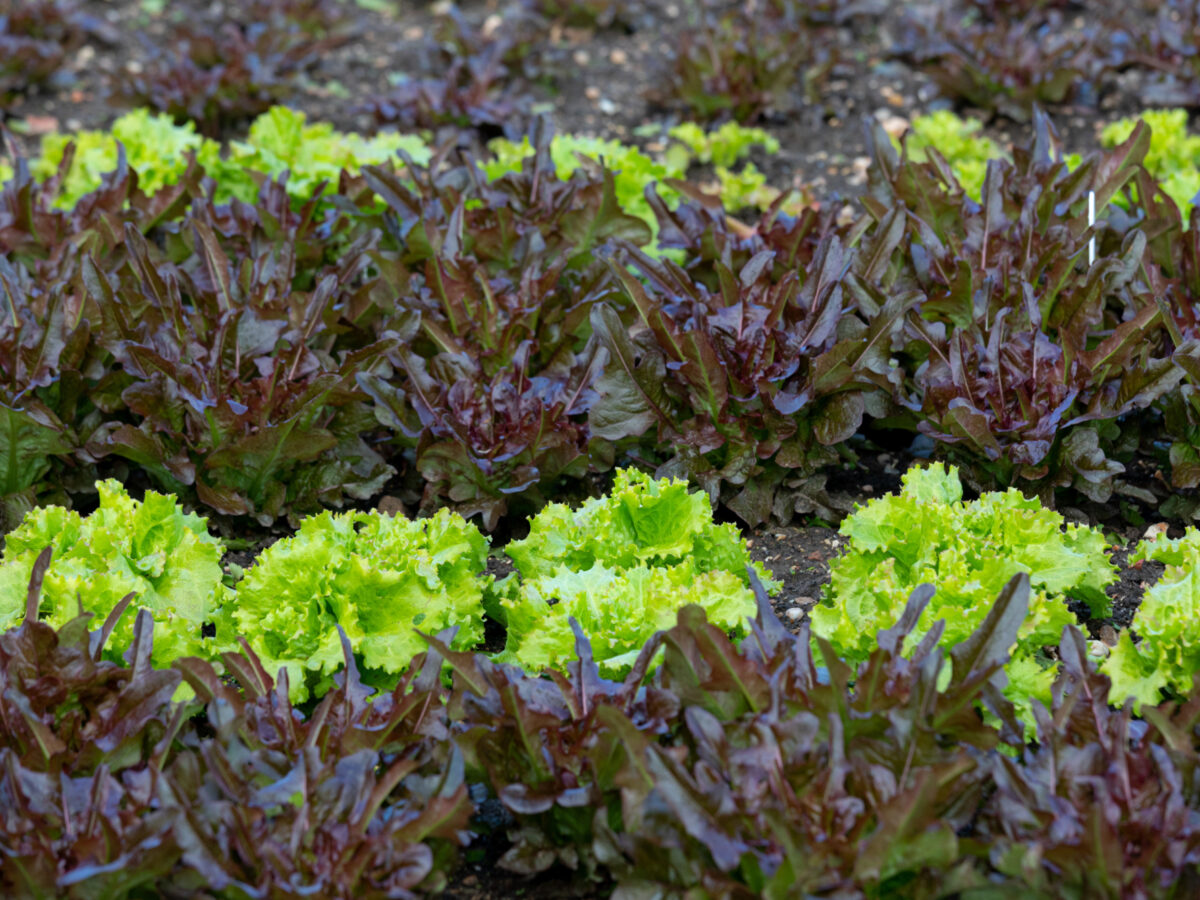
However small or large your space, growing a collection of delicious chemical-free vegetables and herbs is within easy reach.
-
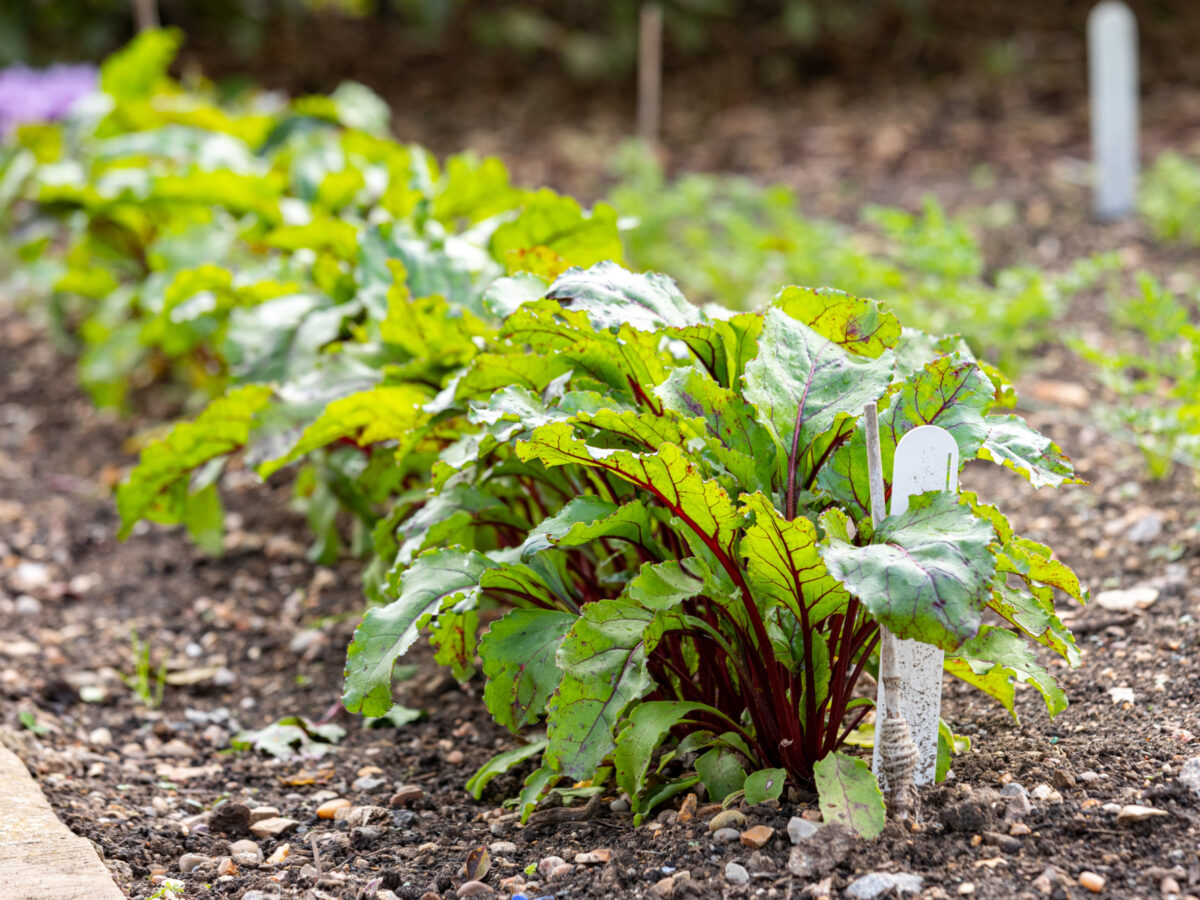
Planning your planting
For successful organic growing, start by planning what you want to grow and where - using crop rotation each year will keep your plot healthy.
-
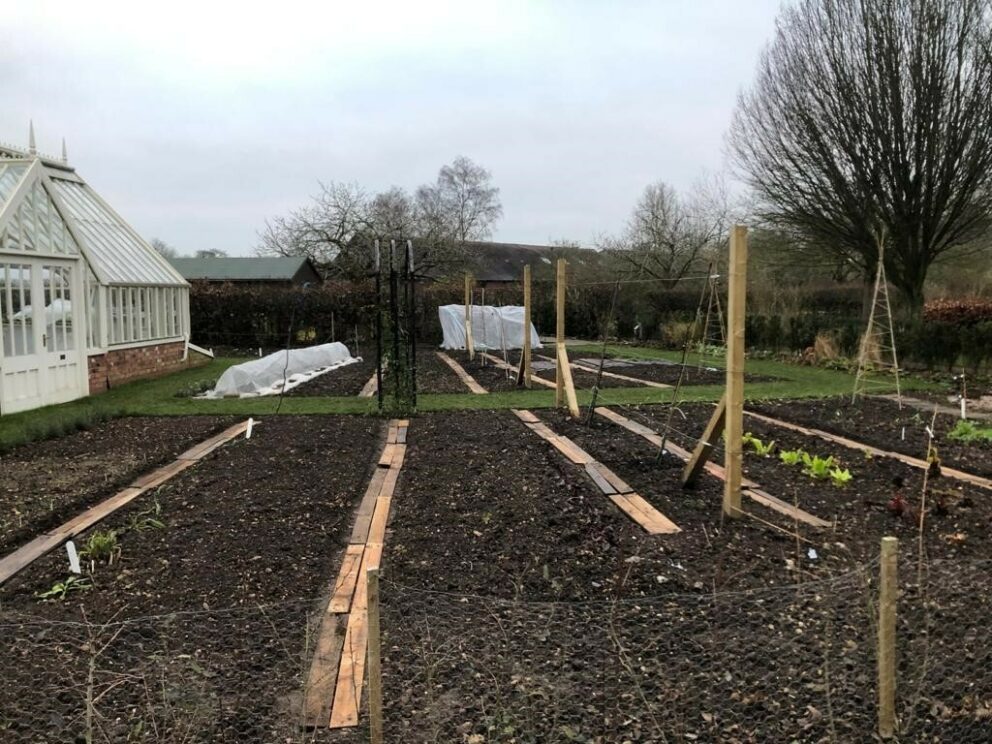
Preparing your organic growing area
Whether in a pot, single bed or large allotment, the first place to start is to prepare your organic growing area, starting by creating the perfect soil.
-
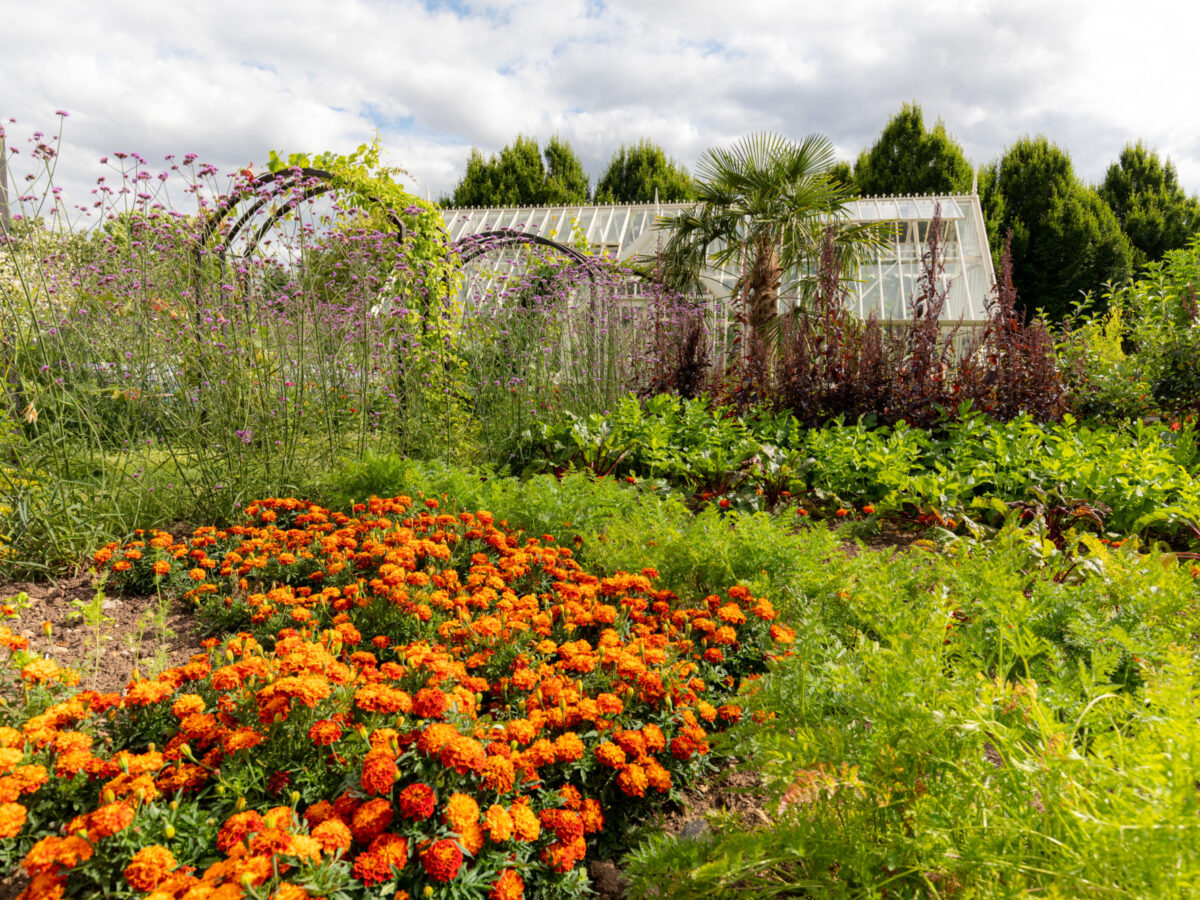
Choosing your plants
Selecting plants for your garden is one of the most enjoyable parts of gardening. But for growing success, it’s important to think about ‘right plant, right place’.
-
Successful seed sowing
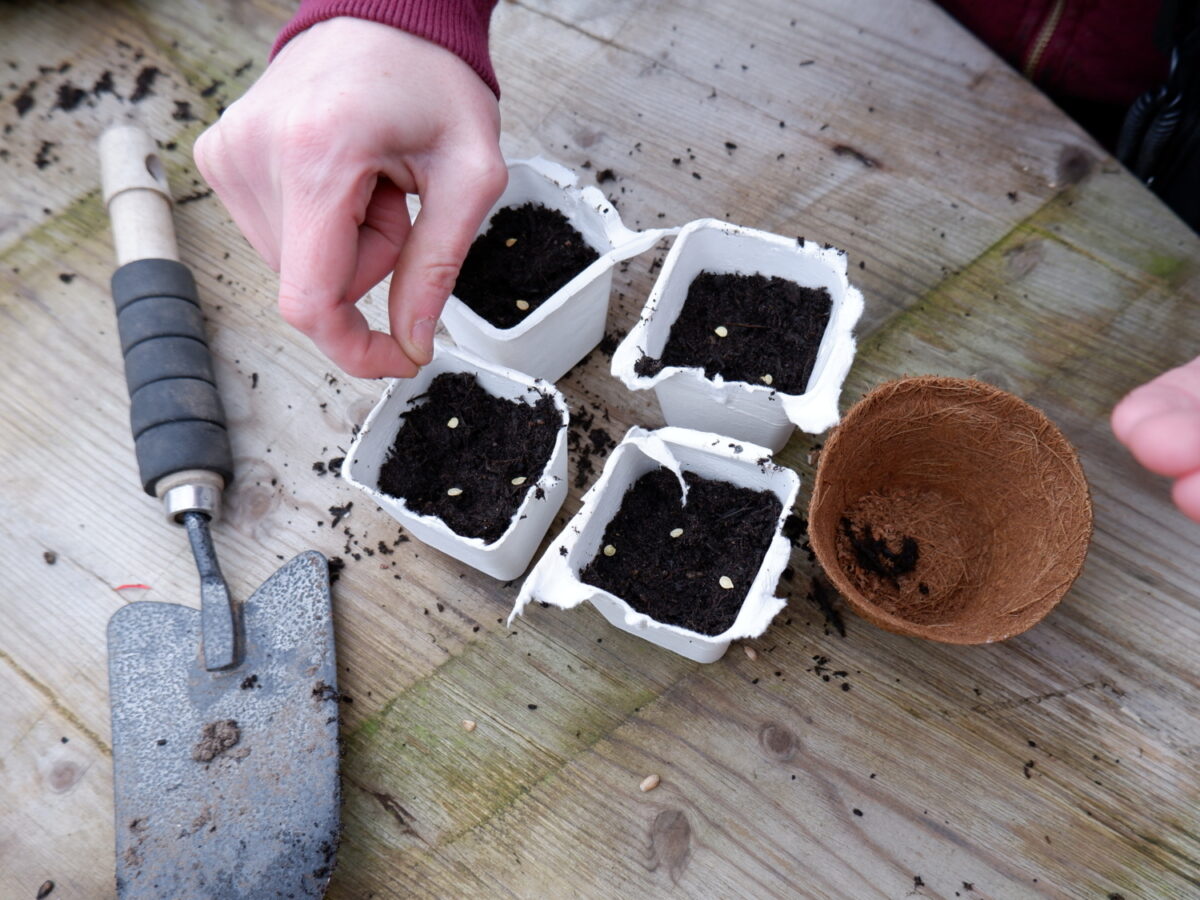
Growing from seed is so satisfying! 6 tips for successful seed sowing that will help you achieve mature, healthy plants well suited to your growing area.
Vegetables and herbs this month
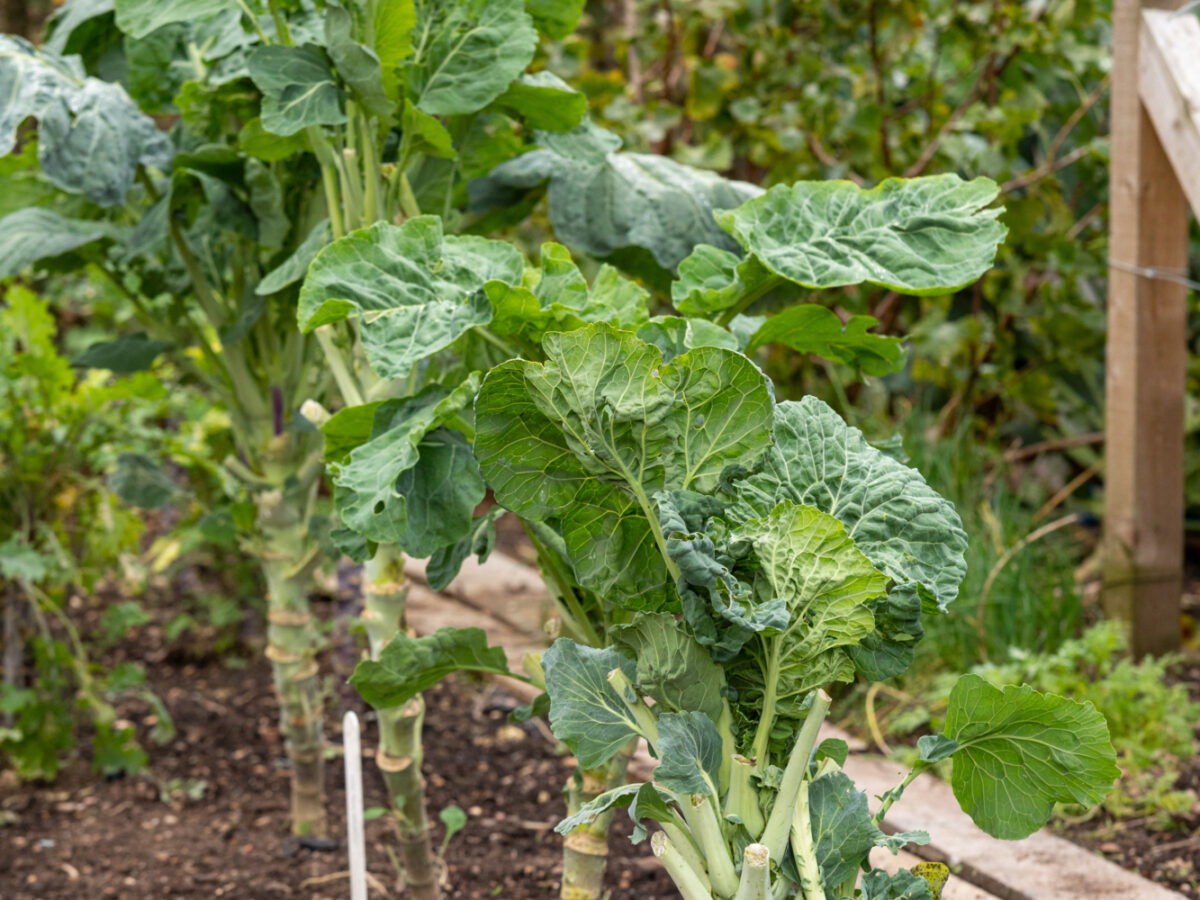
Prepare a ‘compost trench’ using the old stems from Brussels sprouts, kale and other tough brassicas once cropping finishes. The trench should be about a spade’s depth, and positioned where runner beans, or other peas and beans will grow next year.
Your organic garden in January
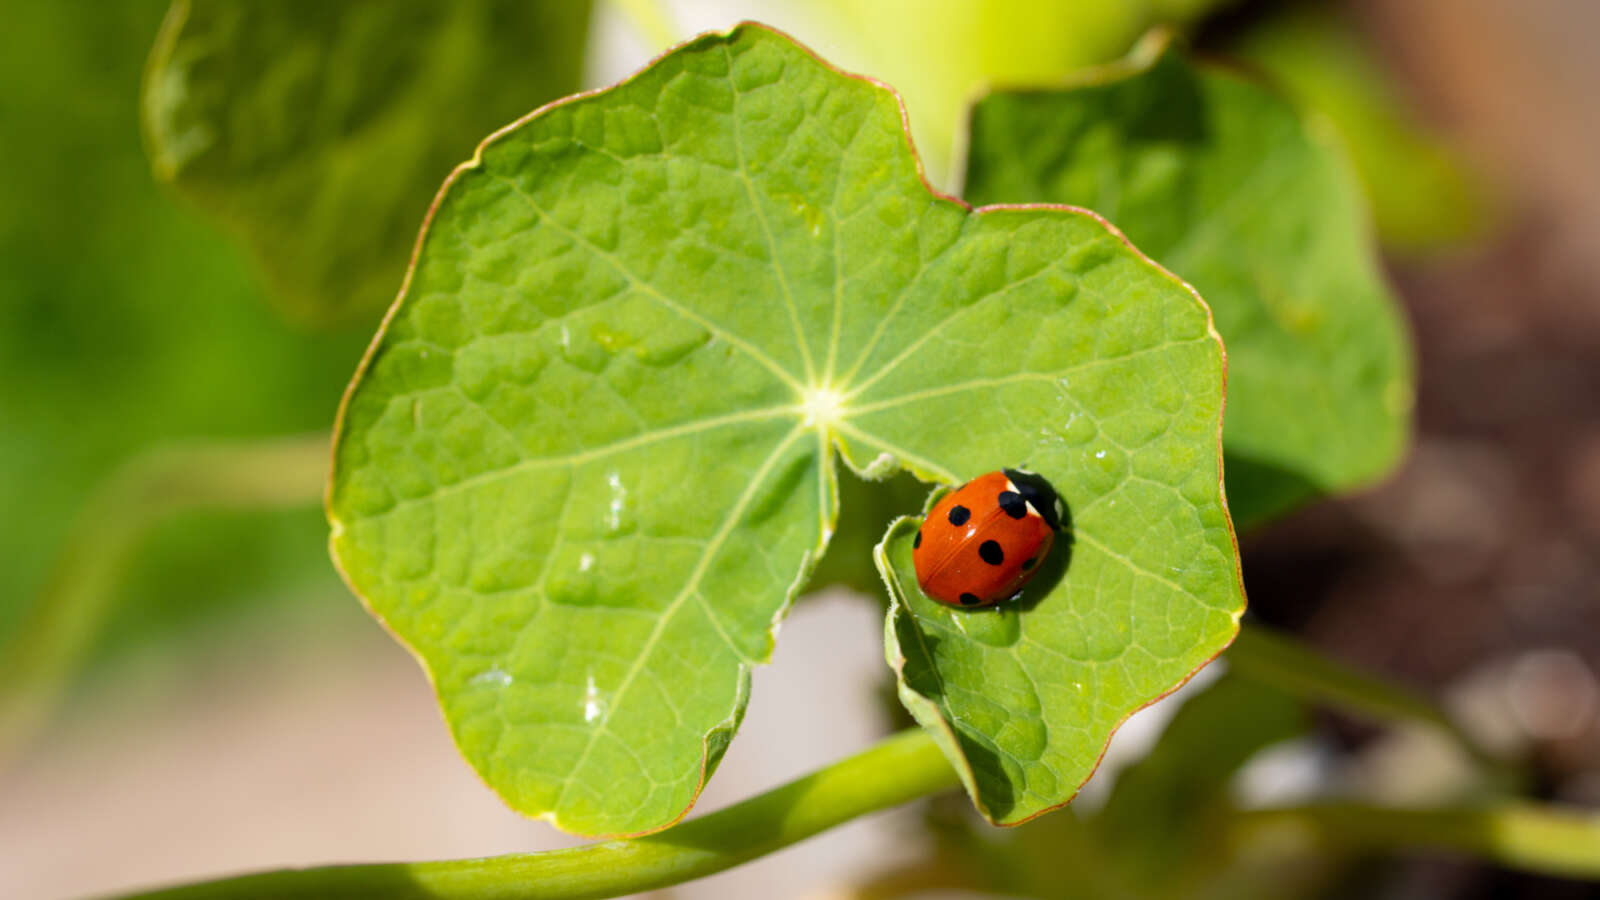
As winter starts to bite, it's time to cover tender plants to protect them from frost damage and enjoy the dark nights. Most pests will be inactive in cold spells, but it’s still worth checking for slugs and snails in sheltered places, such as empty pots in the cold frame or greenhouse.
Also this month
Quick & easy veg - all year round!
Frequently asked questions
-
Carrots can be difficult to grow if the soil conditions are not right.
Carrots do best on a medium to light, stone free soil in a sunny, open sit. The pH range should be between 6.5-7.5. They do not do well in heavy soil and germination will be affected if a green manure crop has been grown and dug in recently. They are not heavy feeders and usually grow well on soil manured for a previous years' crop.
Sow the seed thinly and thin to three inches apart for larger roots. Keep weed-free by hoeing between rows. Water well in dry weather. The main pest is carrot fly. Growing carrots under a cover of horticultural fleece will give protection against this problem.
Some carrot cultivars only produce short, stubby carrots. They are more suitable if the soil is heavy. For a longer root try something like 'James Scarlet Intermediate' or 'Flakkee'. Both of these varieties are available from the Organic Gardening Catalogue.
-
Hot beds were very popular in Victorian times. Once set up, they can be used to grow salad crops in winter, get a head-start on seed sowing in the spring (by up to a month), and for growing melons and any of the cucurbitaceae family in the summer. A hot bed provides bottom heat, using manure rather than electricity as the heat source, thus speeding up plant growth of seedlings and tender plants.
- The heat source: Fresh strawy manure - in a layer 60-90cm deep (after treading). As the manure breaks down, it generates heat. Tread it down well to compact it, ensuring a more even release of heat.
- The growing medium: A mixture of top soil and garden compost (ratio of 1:1) - this is placed on top of the manure in a layer 20cm-30cm thick.
The hot bed can be as deep and as wide as you want, as long as the ratio of manure to growing medium is 3:1. If you do decide to make the hot bed deeper, temperatures may rise above the optimum (24C) and plants may be scorched. It can be cooled down by adding water or leaves and garden debris to the mixture. Check temperatures regularly with a thermometer.
A hot bed can be made in a greenhouse or outdoors. Provide insulation in the form of wooden sides (4 pallets) and a cover if outside.
Leave the hot bed for a week to warm up.
There are several methods of making a hot bed.
- In a cold frame (the lid is useful for conserving the heat).
- In a pit, 60cm (24in) deep.
- Stakes and 4 pallets on the ground to keep the materials and heat in (see drawing).
- In a greenhouse.
What can I sow?
Seed can be sown direct in the soil layer, or in trays placed on top. After building your hot bed in January, small seeded crops like salad and radish can be directly sown on a well-worked fine tilth. A head start can be made by sowing trays of peas, beans, turnip and autumn cauliflower for transplanting outside. Courgettes and marrows can be directly planted in to the bed April/May. Experiment with different organic crops and tell us how you get on.
Any drawbacks?
As a hotbed will only last for up to 2 months - contents will have to be removed and replaced with fresh materials. However, the material on top will be well decomposed and can be used directly on the garden in the spring. The bottom layers may have to be composted again to mature.
-
Ring culture involves growing your tomato plants in large (22-26cm or 9-10in), bottomless pots that are filled with compost and stood onto a water retaining, though free draining, aggregate base.
Washed builders' ballast and sand (80:20mix) make a good aggregate base.
Although ring culture pots are available, any large (22-25cm or 9- 10in) container with the bottom removed is suitable, providing that it has adequate capacity (6.5kg or 14 lbs). On a solid floor, build a retaining wall to hold the 10-15cm (4-6in) of aggregate mix. The ring culture method encourages the development of 2 root systems; fibrous roots in the ring culture pot supply the plant with food, and the taproots reach into the aggregate and take up water.
Gently remove your tomato plants from their pots and place them in the centre of the ring culture pot. Add compost and firm around the root ball, leaving 4cm (11/ 2in) to allow for watering. Place on a bench and give each plant 600ml (1 pint) of water. Do not water again for a week, then provide 300ml (1/2 pint) every other day for the next 2 weeks.
After 2 weeks move the pots to their cropping position on the aggregate base, ensuring that there is good contact between the base of the ring and the aggregate. Water the aggregate daily. After 10-14 days check that the roots are pushing down into the aggregate. Once the tomatoes are around cherry size apply tomato feed to the plants 2-4 times weekly.
Organic tomato compost, organic grow-bags and ring culture pots are available from The Organic Gardening Catalogue
-
There is not really a correct method. To prevent lower growing crops from being shaded out, plant tall crops on an East/West orientation. If they are planted North/South then as the sun moves across the sky the crops on either side will be shaded out. This does not matter as much with lower growing crops, as they cast very little shade.
-
Unfortunately, we can't blame this one on the weather! Loose, open sprouts are caused by poor soil conditions. Always plant out into a firm soil. Plant transplants deeply, with the lowest leaf on the surface of the soil. Firm plants in well and, especially if you are growing on a windy site, they need staking too. Brussels are in the ground for a long period of time and are hungry feeders. Before planting, prepare the ground by applying a spadesful of well rotted manure, or two of garden compost per square metre. Mulch with grass clippings in the summer if plants are not growing vigorously.
Fact sheets - vegetables and herbs
Our member fact sheets contain in-depth information and guidance on a range of organic gardening topics. Log in or join us to access them.
-
Vegetables and herbs
Potatoes: photo guide to growing in a barrel
This Garden Organic member fact sheet gives detailed information about growing potatoes in a barrel.
-
Vegetables and herbs
Vegetables - resistant varieties
This Garden Organic fact sheet gives detailed information on Vegetables - resistant varieties.
-
Vegetables and herbs
Polytunnels
This Garden Organic member fact sheet gives detailed information about polytunnels.
-
Vegetables and herbs
Vegetable crop rotation
This Garden Organic fact sheet gives detailed information on Vegetable crop rotation.
